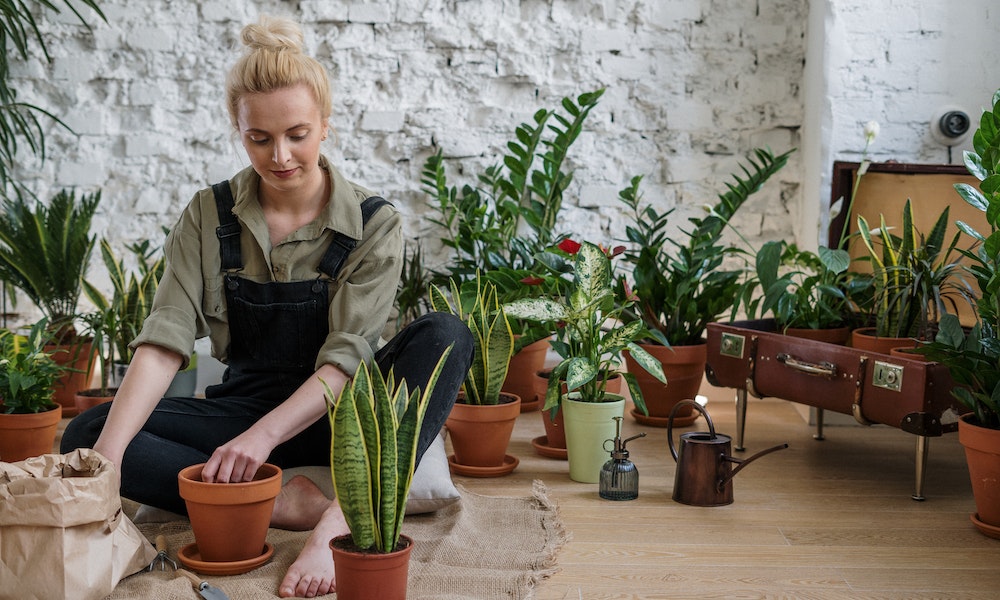
Repotting plants is an essential aspect of gardening that ensures the health and vitality of your plants. Over time, plants outgrow their current flower pots, leading to cramped roots and nutrient deficiencies. Repotting into larger flower pots allows your plants to flourish, offering them the space and resources they need to thrive.
When to Repot Your Plants
Identifying the right time to repot is crucial. Here are some common signs:
- Roots are visible at the pot’s surface or through drainage holes.
- Plant growth has slowed or stopped.
- Soil dries out faster than usual.
- The plant looks disproportionate to the pot size.
Seasonal Considerations
- Spring: The best time for repotting most plants.
- Autumn/Winter: Avoid repotting dormant or flowering plants.
Choosing the Right Flower Pots
Selecting a suitable flower pot is more than just about aesthetics. Here’s what to consider:
- Size: The new pot should be 1-2 inches larger in diameter than the current one.
- Material: Terracotta, ceramic, plastic, and metal each have different properties affecting water retention and heat absorption.
- Drainage: Ensure the pot has adequate drainage holes to prevent waterlogging.
Step-by-Step Guide to Repotting
Repotting doesn’t have to be daunting. Follow these steps for a smooth transition:
Preparing for Repotting
- Gather Your Supplies: New flower pots, potting mix, water, gloves, trowel, and scissors.
- Water Your Plant: Water the plant a day before to make the repotting process easier.
The Repotting Process
Removing the Plant
- Gently Tilt the Pot: Support the plant at its base and carefully tip the pot.
- Ease the Plant Out: Avoid pulling the plant harshly.
Inspecting and Trimming the Roots
- Examine the Root Ball: Look for dead or overly tangled roots.
- Trim if Necessary: Use scissors to remove any unhealthy roots.
Adding Soil to the New Pot
- Layer the Bottom: Place a layer of fresh potting mix at the bottom of the new pot.
- Center the Plant: Position the plant in the middle and add soil around the sides.
Final Touches
- Firm the Soil: Gently press down to eliminate air pockets.
- Water Thoroughly: Ensure the soil is evenly moist.
Post-Repotting Care
- Location: Keep the plant in a shaded area for a few days.
- Watering: Monitor the soil moisture closely.
- Fertilizing: Wait a few weeks before applying fertilizer.
Common Mistakes and Solutions
Even experienced gardeners can encounter issues. Here are some common mistakes:
- Overpotting: Moving to a much larger pot can cause waterlogging.
- Damaging Roots: Be gentle during the repotting process.
- Ignoring Plant Stress: Look out for signs like leaf drop or wilting.
Solutions
- Choose the Right Size Pot: Gradually increase pot size.
- Handle with Care: Respect the integrity of the plant and its root system.
- Monitor and Adjust Care: Pay attention to your plant’s needs after repotting.


